

 mohitmangal.com ```html
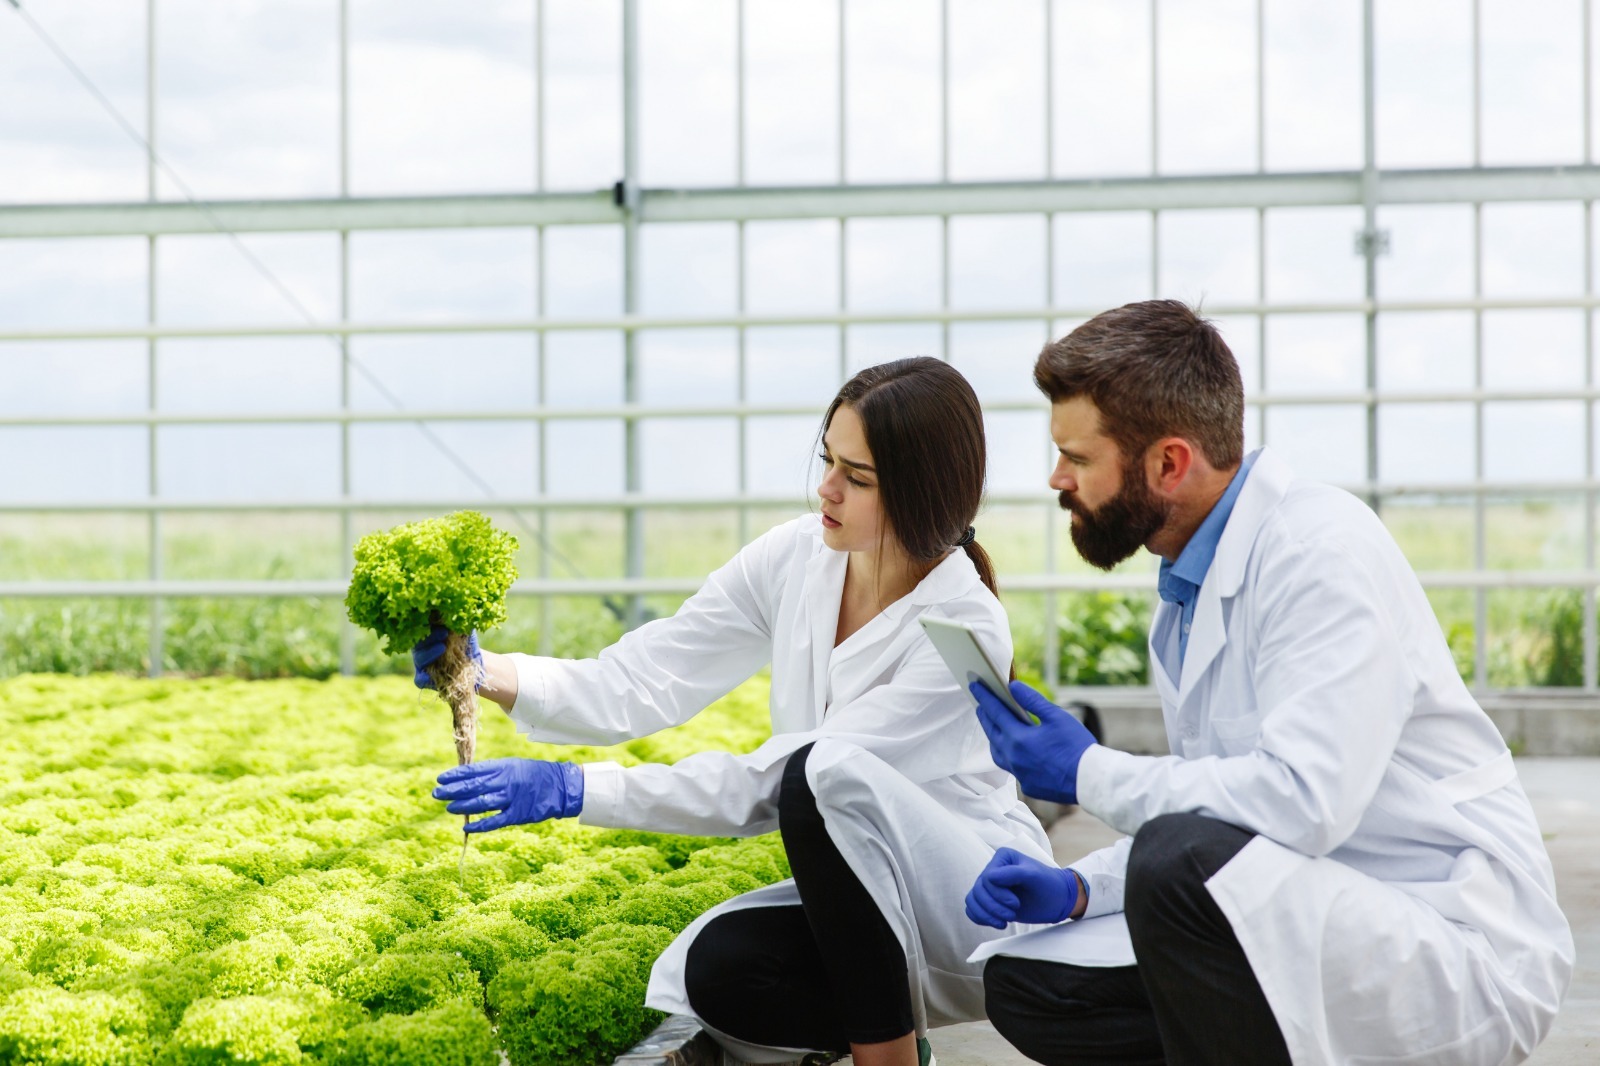
 Opening: Exploring the World of Hydroponic and Aquaponic Farming Hydroponic and aquaponic farming are innovative methods for growing plants without soil. Hydroponics focuses solely on nutrient solutions, while aquaponics combines hydroponics with aquaculture, raising fish and using their waste to nourish the plants. This post will guide you through building a simple DIY hydroponic system.
Step 1: Gathering Your Materials Before you begin, ensure you have all the necessary materials. This will streamline the construction process and prevent unnecessary delays. Here's a list of what you'll need: A plastic storage container (approximately 10-20 gallons) Net pots (enough for the number of plants you want to grow) Hydroponic grow media (such as rockwool, coco coir, or clay pebbles) An air pump and air stone Air tubing Hydroponic nutrient solution pH testing kit Drill with hole saw attachment (matching the diameter of your net pots)
Step 2: Preparing the Container The plastic storage container will serve as the reservoir for your nutrient solution. Clean it thoroughly to remove any dirt or residue. Once clean, use the hole saw attachment on your drill to create holes in the lid of the container. These holes should be evenly spaced and sized to securely hold the net pots.
Step 3: Setting Up the Air Circulation Proper aeration is crucial for healthy root development. Connect the air tubing to the air pump and the air stone. Place the air stone inside the container, at the bottom. The air pump will oxygenate the nutrient solution, preventing root rot and providing essential oxygen to the plants.
Step 4: Preparing the Net Pots and Grow Media Insert the net pots into the holes you drilled in the container lid. Fill each net pot with your chosen hydroponic grow media. Make sure the grow media is adequately moistened before planting.
Step 5: Adding Nutrient Solution and Planting Fill the container with water, leaving a few inches of space at the top. Add the hydroponic nutrient solution according to the manufacturer's instructions. Use the pH testing kit to ensure the pH of the solution is within the optimal range for your chosen plants (typically between 5.5 and 6.5). Gently plant your seedlings or cuttings into the grow media in the net pots.
Step 6: Monitoring and Maintenance Regularly monitor the water level in the container and replenish it as needed with fresh water and nutrient solution. Check the pH level regularly and adjust it as necessary. Ensure the air pump is functioning correctly and providing adequate aeration. Inspect your plants for any signs of pests or diseases.
Conclusion: Enjoying Your Hydroponic Garden Congratulations! You have successfully built a simple DIY hydroponic system. With proper care and maintenance, you can enjoy fresh, homegrown produce year-round. Experiment with different plants and nutrient solutions to optimize your system for maximum yield. Happy growing!
``` Hydroponic / Aquaponic Farming
mohitmangal.com Organic Aquaponic Farming
 fity.club
 Aquaponic Farming Techniques
 smallbackyardlandscapeideas.blogspot.com


0 komentar:
Posting Komentar